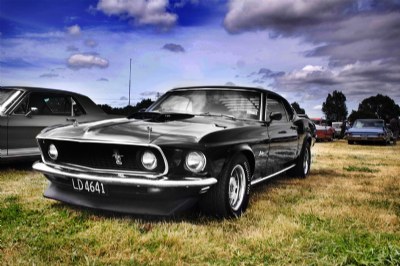
this photo was created by opening up the raw file and saving it three times, one properly exposed, one for the highlights and one for the shaddows. Then I opened them all into one photoshop image and used layer masks to mask out the parts that I didnt want to be showing, I did this with all three images, so this gave me the tonal range i wanted ( top image is for the sky, middle is for the car etc...
another tecnique i used ballances the light in the photo. you copy all layres and paste it into a new layer, then with this new layer you desaturate it, invert it, set the blending mode to overlay and apply a gausian blur this layer at maximum(250.00)